
TL;DR: Your iPhone can do more than quick snapshots. With a few taps, you can capture stunning long exposure shots that transform everyday scenes into art.
If you thought your iPhone was only for simple snaps, think again. By using long exposure techniques in the Camera app, you can turn a busy street, a flowing waterfall, or a starry sky into a breathtaking image. The idea is to keep your phone steady, adjust the brightness, and choose the right exposure time to let the magic happen.
Next time you’re out and about, experiment with long exposure mode. It may change the way you see the world and help you capture moments that truly impress.
Capturing Long Exposure iPhone Photos: Step-by-Step Tutorial
Start by opening your iPhone’s Camera app and tapping the Live icon in the top right. This mode snaps several frames that your iPhone will combine into one long exposure image. Make sure your phone is on a solid surface or tripod, any movement can blur your shot.
Next, set up your scene. Whether you're shooting a busy street or a flowing waterfall, position your subject and keep the phone steady. When you’re ready, hit the yellow exposure icon beside the shutter. Then swipe left or right to choose a duration from 1 to 5 seconds. You might see an option labeling the time like “1–5 sec,” which helps you pick just the right amount of motion capture.
Now, tap the screen where you want to focus. A yellow square will appear, locking in on that spot, and you can swipe up or down to adjust the brightness. Think of it as fine-tuning the volume on your speaker until it sounds perfect.
With everything in place, press the shutter and hold your phone completely still for the chosen time. Once the photo is taken, go to your Photos app and find your new Live Photo. Swipe up on it and tap “Long Exposure” to complete the effect.
Follow these steps, and you'll create stunning long exposure images with your iPhone using just its built-in features.
Long Exposure iPhone Essentials: Equipment and Apps
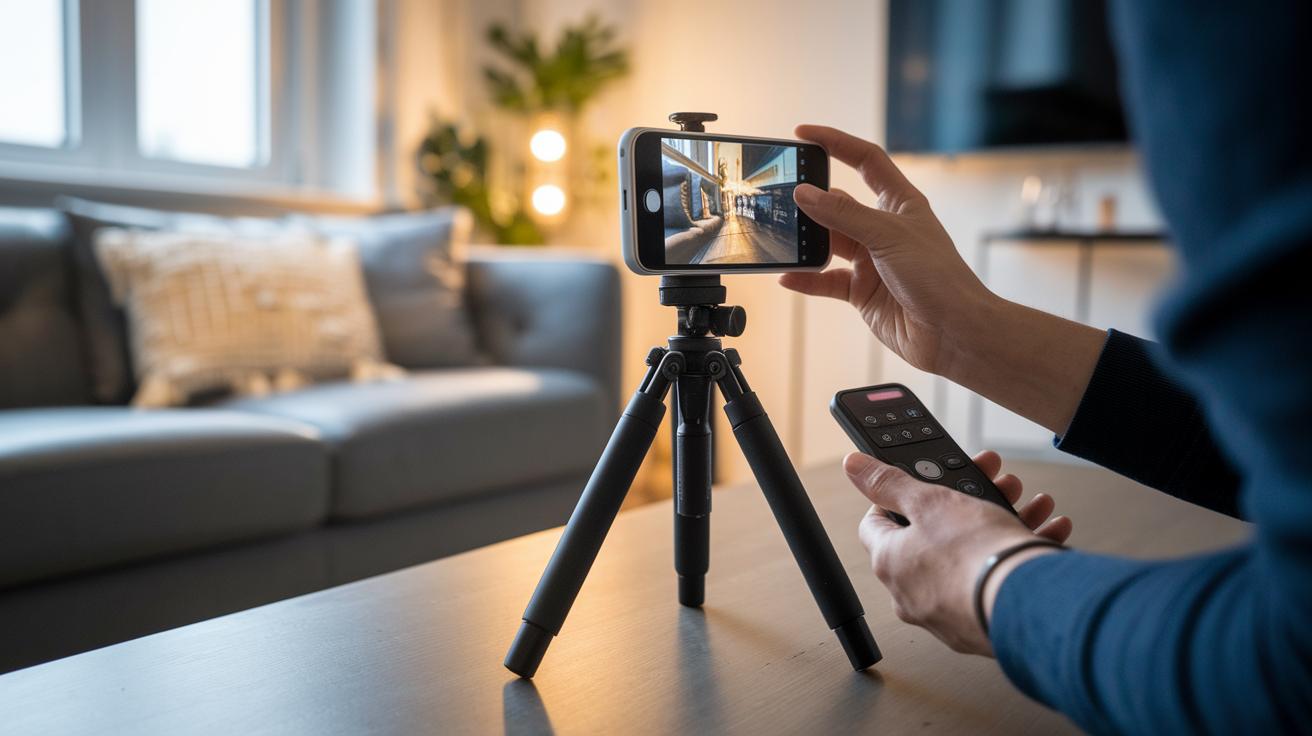
To capture sharp long exposure photos on your iPhone, you need a steady setup. Put your phone on a sturdy tripod or another solid surface so no small shake ruins your shot. You can also use a remote shutter or the built-in timer to avoid any movement when you snap the picture. It’s like setting up your own little photo studio right at home.
Third-party apps help you create long exposure effects by combining several frames into one smooth image. For example, Snap Pro Camera uses AI to stabilize your shots and lessen minor hand movements without extra gear. Apps like Slow Shutter Cam and ProCam let you control settings such as shutter duration, ISO, and white balance manually. This control is similar to adjusting a DSLR, giving you the freedom to fine-tune every shot.
With the right apps, you can choose exactly how long the shutter stays open. This lets you capture effects like silky water or energetic city light trails with ease. Combine a reliable mounting option with smart app choices, and your iPhone becomes a handy tool for DIY slow shutter photography.
| Equipment/App | Purpose |
|---|---|
| Tripod or stable surface | Keeps your iPhone steady |
| Remote shutter or timer | Reduces movement when capturing images |
| Apps with manual controls | Allows fine-tuning of exposure settings |
Long Exposure iPhone Settings: Optimizing Extended Capture
Open your iPhone Camera app and tap the yellow exposure slider to choose a shutter speed from 1 to 5 seconds. Next, tap the yellow focus square to lock focus and swipe up or down to set your brightness.
For a bit more control, adjust the ISO between 25 and 200 to keep noise low. Turn off the flash and automatic HDR for cleaner images. You can also enable Live capture to transform Live Photos into creative long exposures.
| Setting | Recommended Range | Effect |
|---|---|---|
| Shutter Duration | 1–5 sec | Motion blur level |
| ISO | 25–200 | Noise control |
| Focus/Exposure Lock | Tap Yellow Square | Consistent sharpness |
| HDR & Flash | Off | Cleaner highlights |
Long Exposure iPhone Techniques: Live Photo vs Third-Party Apps
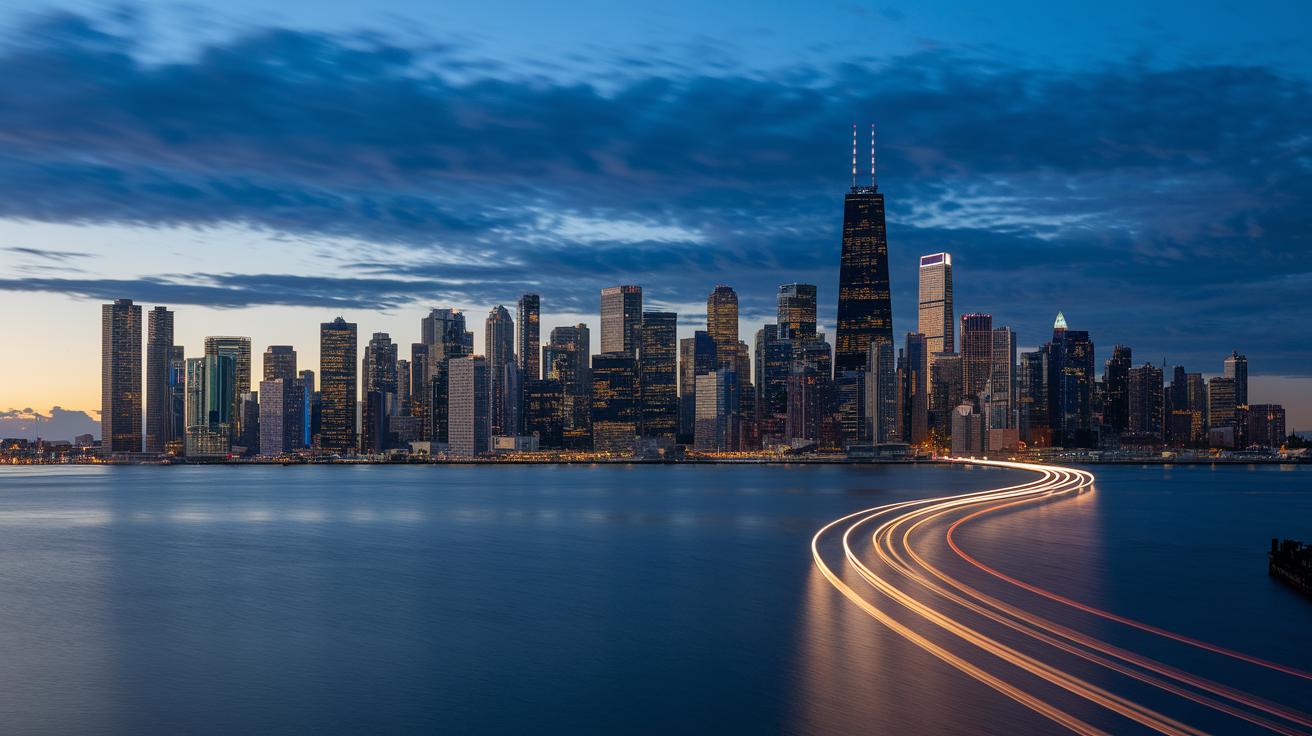
iOS’s built-in Live Photo makes it easy to mimic a long exposure effect. It instantly converts your scene into an image that feels like a 1 to 1.5-second exposure. This quick method works great for capturing cityscapes at night or gentle water movement, all without needing an extra app. Just keep in mind that because the effect is so brief, it might not deliver the dramatic blur you want in more dynamic settings.
Third-party apps, on the other hand, merge many frames into one image to create exposures lasting up to 30 seconds. These tools let you adjust settings like manual shutter speed and ISO, and they include timers to help keep your shot steady. Many even use AI stabilization to reduce camera shake, even if you’re not using a tripod.
| Method | Key Points |
|---|---|
| Live Photo | No download, instant effect, shorter blur window |
| Third-Party Apps | Longer exposure times, advanced controls, may come with a subscription |
This comparison helps you decide if you need a fast, simple solution or a more customizable approach for your long exposure shots.
Long Exposure iPhone Creativity: Motion and Light Trail Techniques
Long exposure photography on your iPhone can turn everyday scenes into works of art. With the right techniques, moving water becomes a silky cascade, while city traffic creates vivid streaks that add energy to night shots. You can even capture starry skies by combining multiple frames to form dreamy trails across the heavens. Try shifting light sources in circles, like spinning steel wool, to create enchanting patterns against still backgrounds.
Here are some ideas to spark your creativity:
- Urban traffic light trails
- Flowing rivers or fountains
- Star trail composites
- Steel-wool spinning effects
- Neon sign motion blur
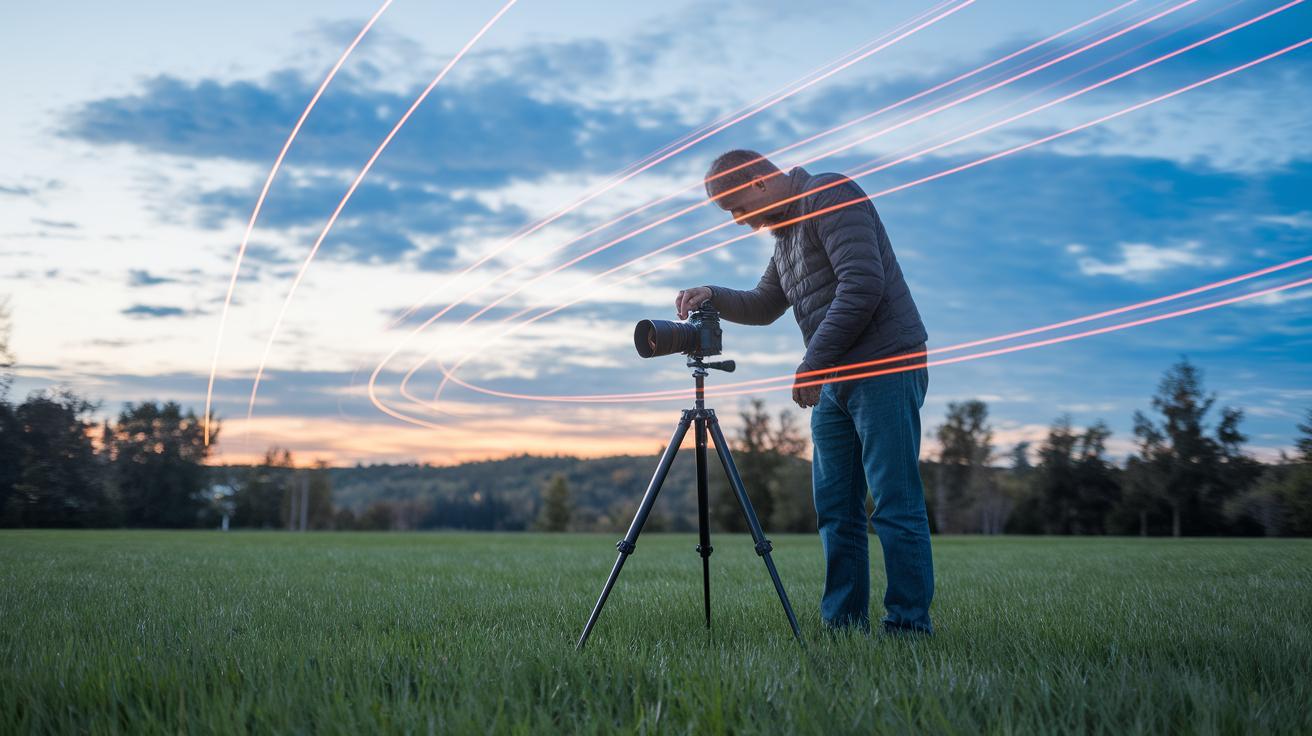
Before you start shooting, set up your scene carefully. Look for locations at dusk when the ambient light is soft, and avoid harsh shadows. It helps to position static elements off-center so the blur stands out and guides the viewer’s eye.
Pro tips for perfect long exposures:
- Scout your locations at dusk for gentle lighting.
- Position still subjects away from the center to balance the motion.
- Use a remote shutter or timer to keep your iPhone steady.
- Shoot in RAW or the highest quality setting to capture every detail for editing.
These techniques let you transform natural movement into a visual story. Experiment with different settings and angles to see how light and motion work together, and watch your iPhone become a powerful tool for creative photography.
Long Exposure iPhone Troubleshooting: Best Practices and Tips
If you've already set up a stable base and adjusted your timer and ISO settings but still face issues, try these simple checks for long exposure photos:
- Wipe the lens clean to remove any dust or smudges that might cause flares.
- Make sure your tripod is fully stable and that no slight movement is affecting your shot.
- Verify that your Live Photo conversion has correctly applied the long exposure effect.
For example, if you notice bright spots or stray marks in your photos, cleaning the lens first can help cut down on unwanted flares.
Final Words
In the action, we walked through how to capture stunning visuals using your iPhone. We covered each step, from locking focus and adjusting exposure on the built-in app to exploring third-party apps for longer exposures. We discussed the importance of steady support and shared creative ideas like turning city traffic into light trails. By fine-tuning settings and troubleshooting common issues, you can achieve a clear, artistic effect with your long exposure iphone shots. Keep experimenting, and enjoy transforming everyday scenes into works of art.
FAQ
How do various iPhone models (iPhone 13, 14, 15, 16, 17, 14 Pro, and 15 Pro) capture long exposure photos?
The long exposure effect is simulated by converting Live Photos using the built-in camera app. A steady setup like a tripod is key, and third-party apps can extend shutter speeds further.
How is long exposure photography demonstrated on iPhone YouTube videos?
YouTube tutorials show how to achieve long exposure by using the Live Photo conversion feature, emphasizing the need for stability during capture and offering tips for enhancing slow shutter visuals.
How do I get 30-second night mode on my iPhone?
Achieving a 30-second night mode effect on iPhone usually requires a third-party app that allows an extended shutter duration beyond the native Live Photo conversion, combined with a stable mount for clear images.
How do I set my iPhone camera for capturing the northern lights?
For northern lights, adjust your iPhone by lowering the ISO, using a longer exposure setting through Live Photo conversion or a third-party app, and use a tripod to minimize camera movement.
How can I achieve a 30-second exposure on iPhone iOS 26?
To get a 30-second exposure on iOS 26, use specialized apps that support extended shutter speeds, secure your device on a tripod, and manually adjust settings for the best low-light capture.
What shutter speed is best for iPhone long exposure photography?
For long exposure on an iPhone, a shutter speed between 1 and 5 seconds works well using Live Photo conversion, though third-party apps can allow up to 30 seconds for more dramatic motion blur effects.